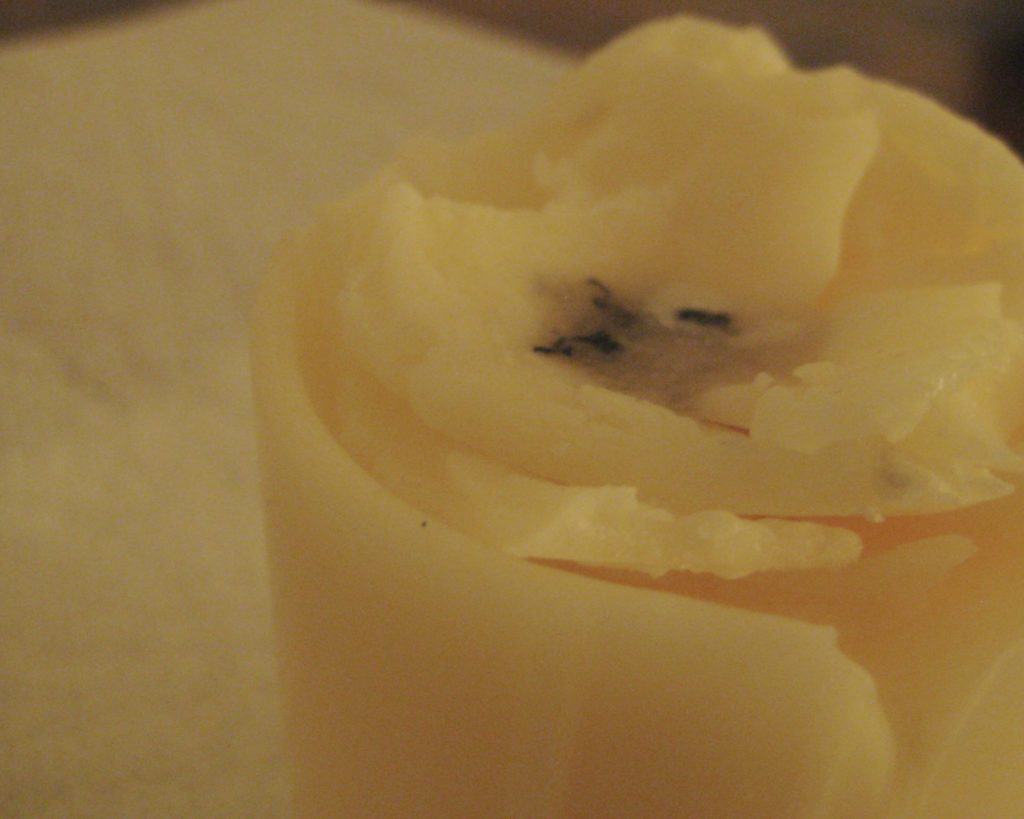
I never thought that this would happen to me, but I can no longer burn my favorite pillar candle because the wick is lost inside hardened wax.
More than half of the candle remains, so I am on the hunt to discover ways to use a candle when the wick is gone. Can you relate?
Here are the top 3 ways To use a candle when the wick is gone:
- Re-expose The Wick
- Transform The Wax
- Create A New Candle
Below is a list of solutions I found during my research.
Top 3 Ways To Use A Candle When The Wick Is Gone
1. Re-expose The Wick
This first example is the one I know best because it is the solution I used, so I will start here.
This solution is for cases where the candle wick is visible but can’t be accessed because the candle wax has cooled and hardened.
To get started, there are a few tools that you will need.
- Surface protection (e.x., tin foil, foil pan, wax paper)
- Tweezers
- Blow dryer or heat gun
- Lighter
It might help to see a demonstration of this process before I share the exact steps that I used. So please watch the video below and don’t get discouraged if you don’t own a heat gun.
Some people shun this approach because of the amount of wax that he had to discard. I didn’t have to pour out as much wax as he did, so I don’t feel as though I wasted any of my palm wax. There are a few things I did differently from what was demonstrated, and I will go over that now.
The Process
- After protecting my table surface, I used a hair dryer to soften the candle wax. Moving in circular motion so as not to direct heat in one area, I applied heat for about 30 seconds.
- Note that if you have multiple settings on your blow dryer, you will only want to use moderate air force because as the wax softens and then liquifies, it will begin to splatter. This is why the gentleman in the demonstration used a heat gun. Heat blows out of a heat gun in a more controlled manner, which prevents a mess.
- Once the surface softened and began to liquify, I picked up the candle and turned it on an angle while picking up my lighter with the other hand. Then I proceeded to apply direct heat to the candle using the lighter.
- Be patient, it may take several seconds for you to see the wick begin to rise. Once this happened, I turned off the lighter, placed it on the table, and then picked up my tweezers. If the wick begins to hold a flame, you might want to blow it out for a moment.
- With the tweezers, I lifted the candle wick. In the process, I made sure to dip the tweezers into the wax and lift them up along the sides of the wick in order to coat it. This helps it burn better. I also used the tweezers to remove the frayed bits of wick that were now swimming in the wax.
- Once the candle surface was all clean, I lit the candle and allowed it to burn long enough to even out the surface. Removing any surface debris helps with that process.
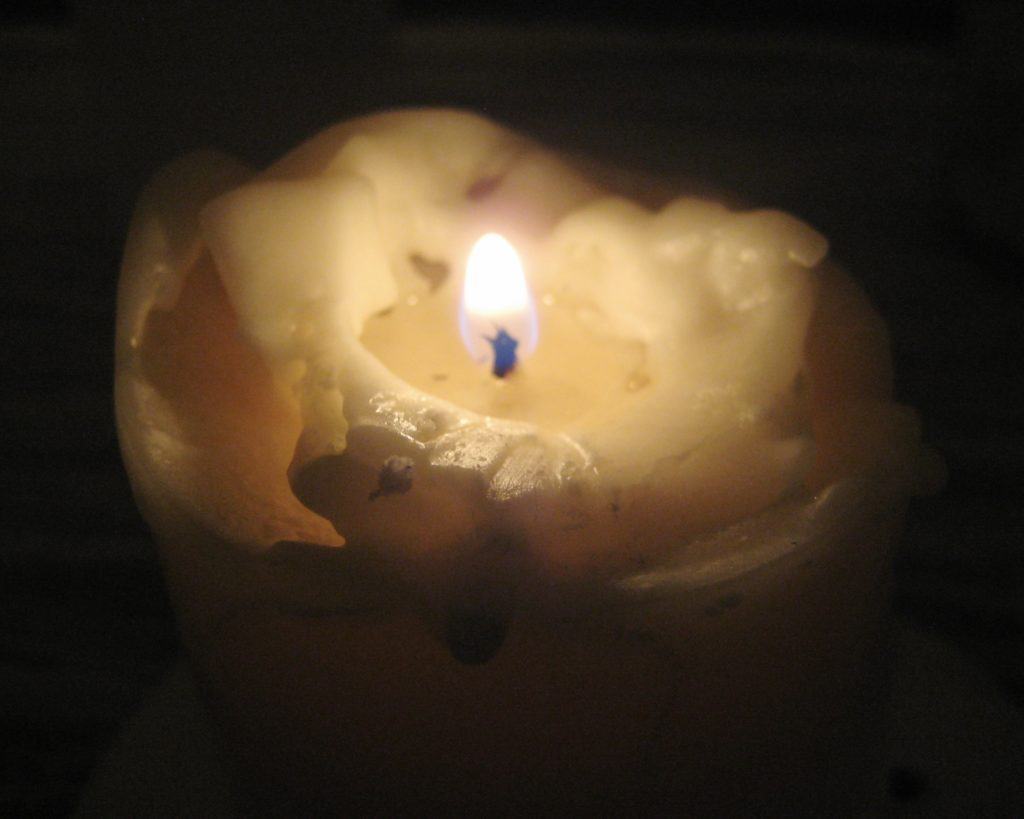
As you can tell, the surface of my candle is bumpy and uneven due to past mishaps, but I will also cover more about that towards the end of the article.
2. Transform The Wax
The candle above is a pillar candle without a holder. I burn it on a plate candle holder. But what if your candle is inside of a glass jar?
If your candle has burned down and there is little to no possibility of lighting or even finding the wick, but you still have wax in the container, there is hope.
Have you seen this video? Watch closely, but ignore the microwave part!
Cool, eh?
I’m sure you can figure out why I cautioned you against placing your candle jars in the microwave, but I want to make it plain just in case. Many wick holders have a metal base that is stuck to the bottom of the jar. If you were to place it in the microwave, that would cause an explosion. We don’t want that.
If you are absolutely certain that your candle wicks are not being held down by that metal device then don’t hesitate to pop them in the microwave. To be on the safe side, though, let’s consider a couple alternatives.
One thing you can do is use your oven to levitate the wax. You can pour water into the jar, place the jar on a baking sheet, and then slide it into the oven. I would try a moderate temperature, like 180F (82C).
Another possibility is to cautiously pour hot water into the jar. It would have the same effect.
The idea is to cause the wax to gravitate towards the surface and then allow it to harden before you remove it.
Here are the steps:
- Pour hot water into the container (or cold water before placing in the oven)
- Allow the wax time to make its way to the surface
- Let it cool/harden
- Apply pressure to one side and then lift the wax out of the jar
At this point, you can place it inside a wax warmer to enjoy your candle again.
3. Create A New Candle
If you are a candle lover you likely have old jars laying around your house. This is one way that you can reuse them… and old wax.
The only additional tool that you will need is a new wick. Preferably, one that already has a metal base attached.
Proper wick length depends on your jar size. You want to choose a length that’s a few inches taller than your jar.
Towards the end of the last video I shared, the young lady demonstrated how to clean candle jars once the wax has been removed. If you need to, watch that video, or you can read the instructions below if the wax hasn’t been removed yet.
Removing Wax From An Older Jar
- To use an old vessel, you want to remove any wax residue along with any wick remnants. To do this, warm your oven to 180F (82C) and place your candle jar upside down on a baker’s sheet that’s covered with parchment paper or aluminum foil.
- After about ten to twenty minutes, the wax will have melted. Using pot holders, remove the pan from the stove and place it on a heat proof surface.
- Still using a pot holder, lift the jar and remove any excess wax using a towel or paper towel. Place it on a heat-resistant surface and allow it to completely cool.
- Do not pour the melted wax that’s in the pan down your sink drain. Allow it to cool. Once cooled, make sure to toss the wax into the garbage can.
- Once the jar has completely cooled, add a little soap to a bowl of warm water. Using a sponge or towel, you can wipe out the residue. To get rid of soot marks, you might need to use a scrubber brush and soap.
- Dry out your clean jar.
- Place the clean jar on a flat, heat-resistant surface to prepare for hot wax to be poured inside.
If you do not have any old candle jars, you can also use a small mason jar or another clean glass jar.
Making the “New” Candle
Now that you have a clean vessel, you can start melting the wax from the old, wickless candle.
To do this, I would use a double boiler or a pot with a bowl that can partially fit inside the pot. See the video below for an example. It’s about melting chocolate but the concept is the same.
Pour water into the bottom pot and allow the water to boil. While it is heating up, set the smaller pot or bowl over the larger one. Put your candle inside, and then pour water into the pot. Just enough to meet the level of hardened wax on the inside.
As the water heats up, the wax will liquify.
Once it is fully liquid, turn off the burners and use tongs or a pot holder to pick up the jar.
At this point, you want to bring out one of your new wicks and dip it into the hot wax – top to bottom. Then adhere the metal disc to the bottom center of the clean and dry vessel. The wax helps hold it in place but you will either need to continue to hold the wick in the center of the jar or use a popsicle stick or something similar to hold it in place.
Use tweezers or some other tool to remove the old wick base and any debris from the container with the hot wax.
Once the new wick is secure in the old, cleaned vessel, pour the hot wax into it.
As it cools, it will harden, and then you can trim your new wick to ¼ inch above the hardened wax.
Once it’s fully set, you should be able to burn it as usual.
Precautions To Keep In Mind
Here are a couple tips to keep you safe when creating a new candle using old wax.
- Don’t combine waxes. When using this method, only use the wax from one old candle. The only exception is if you have multiple old candles that are the same scent from the same candle company. Combining wax types and fragrances can get dangerous.
- On a similar note, don’t add any fragrances to the old melted wax. Although we enjoy the art of candle burning, there’s also a lot of science that goes into it. Candles that aren’t formulated properly can become volatile or simply not burn properly.
Also note that there’s a possibility that this third example won’t work for you. Wicks play a major role in candle burning.
There’s a lot of testing and experimentation that’s involved in choosing the proper wicks for a specific candle. DIY projects are great but just know that there are many factors at play when burning a candle.
Proper Candle Maintenance
As promised, I want to briefly raise some points about maintaining your candles. With proper usage, the wick is often preserved.
In addition to a disappearing wick, my wick had been frayed. I’m not sure if it was low quality or if I did something wrong. It is possible that I trimmed the wick too low and that caused the fraying. Avoiding this can help save your wick, so it’s worth paying attention to.
Keeping wicks trimmed to ¼ inch also prevents mushrooming. This happens when the wick has carbon build up that’s shaped like a mushroom. When this happens, the wick is absorbing too much wax, causing the flame to grow larger and larger, which can be dangerous. Consider using a wick trimmer as an effective solution.
Avoid tunneling. If you burn your candle for short periods of time without allowing the wax to fully pool, then you will end up with a lot of wax on the sides of your jar. When this happens the wick burns down lower and lower until you can’t light it any longer but are left with lots of wax on the sides. To prevent this, allow your candle to burn until you see liquid wax extend to the edges of the jar. If your candle is three inches wide, then full pooling can take three hours.
Keeping the wick centered also ensures that it burns evenly.
Conclusion
I hope that you were able to find a solution from at least one of the solutions listed.
These were the top three tips because I felt they were the safest of all the options I researched. It is possible to restore use of your candle but always take your time and exercise caution when applying any of these solutions.
If you found this article helpful, please share it with others who might benefit from it as well.